Adding your new job into a Scale recipe
After you have successfully tested your Docker container and inserted the job into the database, you can add the job to an existing recipe or create a brand new recipe. Recipes allow you to chain the inputs/outputs of one job to another job to create a workflow for your algorithm processing.
Creating a new recipe
New recipes are added from the Scale web interface in the Recipes->Recipe Types section. You will need to be logged in as an administrator in order to add new recipes.
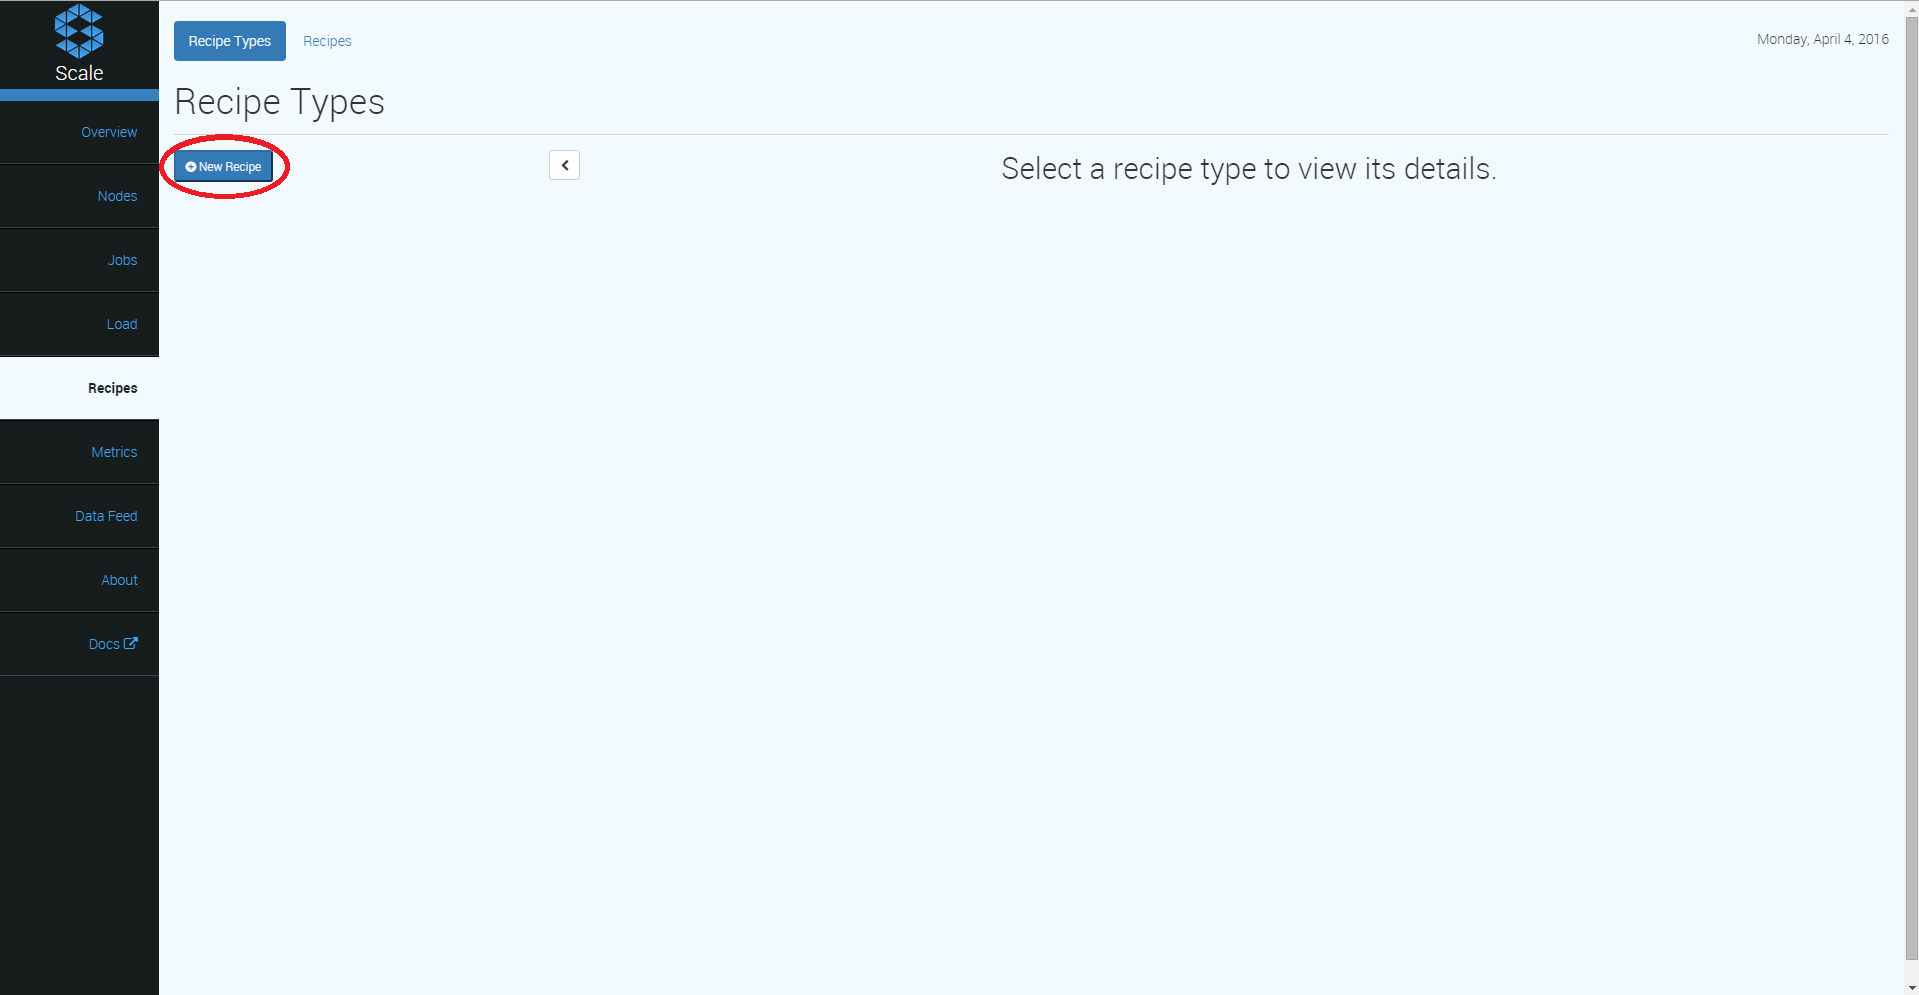
Selecting the “New Recipe” button will display an empty recipe template.
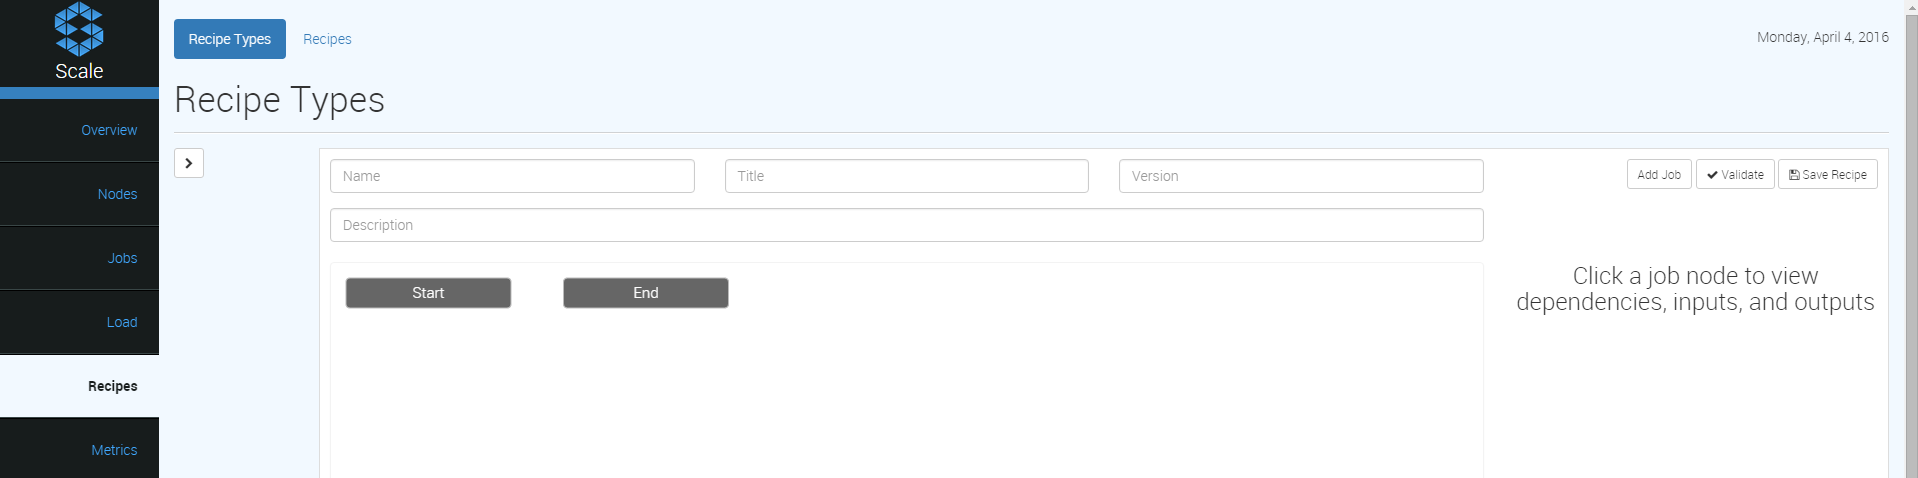
Name is a user-defined, unique name to refer to the recipe. It must be lower case. Words should be separated by dashes.
Title is a user-defined, unique (from other recipe titles) short title to use as the common display name of the recipe. This is typically a properly cased version of the name field with dashes replaced with spaces.
Version is the recipe version number. You should use semantic versioning, e.g. 1.2.3.
Description is a brief summary of the recipe and what it should create.
Adding a trigger
After adding a name, title, version, and description of your recipe, you can add the recipe trigger that will be used to run your recipe.
Note: Once a trigger is activated, the recipe will begin to try to run its jobs. You may want to add jobs first, then add the trigger as a final step.
Selecting the “Start” box will display the Trigger and Recipe Inputs options on the right-side of the page.
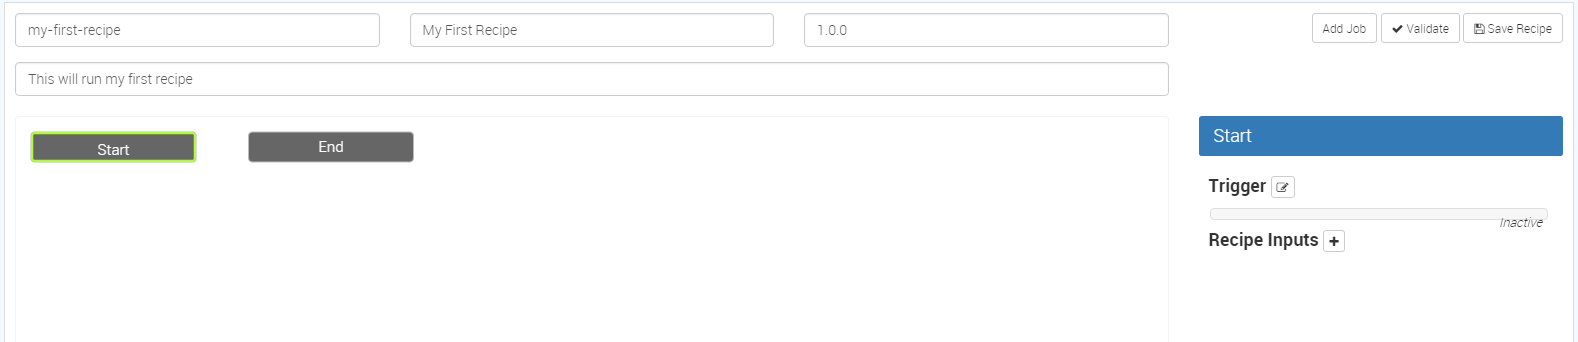
First, select the add recipe inputs (“+” button) next to “Recipe Inputs” to add the expected input file type. This will display the “Add input” dialog.
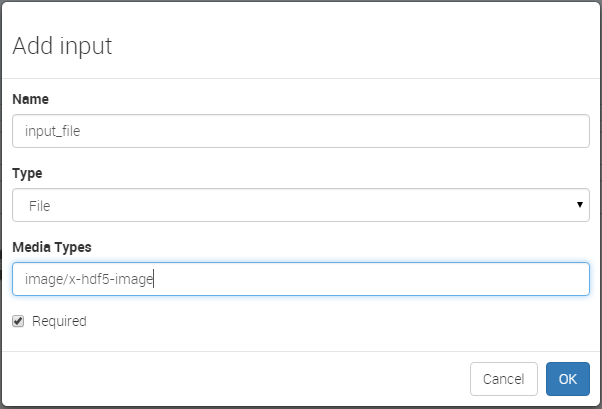
Recipe Inputs Dialog
Name is a user-defined, symbolic name of your input type
Type is a dropdown menu of available input types. For the majority of users, this will be “File”.
Media Types will appear if the appropriate type is selected. This should be the media type of your input file.
Required is a checkbox that should be checked if the recipe input is necessary for the algorithm to run.
Select “OK” when finished.
After setting up your recipe inputs, you can edit the Trigger by selecting the edit button next to the word “Trigger” on the right-side. This will display the “Edit Trigger” button.
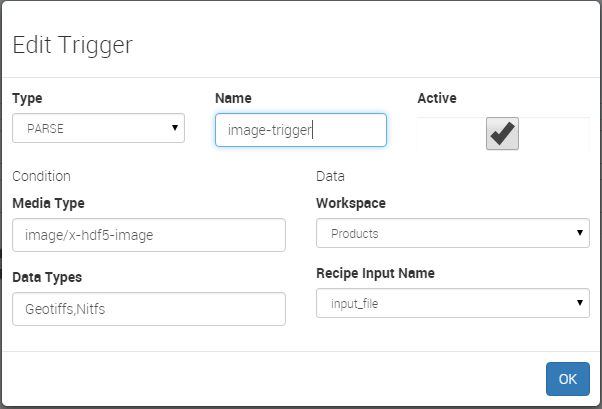
Trigger Dialog
Type is a dropdown menu to specify if your recipe is triggered from a PARSE job or from an INGEST job.
Name is a user-defined, unique name of your recipe. This should be lower case with spaces replaced by dashes between words.
Active is a checkbox whether a recipe is currently active in Scale and processing files.
Media Type is the expected input media type of the trigger. This should match your “Recipe Inputs” media type in the previous step.
Data Types are the data type tags used for identifying the input files. Multiple data types MUST be separated by a comma without spaces. The trigger is an intersection (both A AND B) between all of the data types.
Workspace is a dropdown menu of available locations defined in your Workspace for storing products from the recipe.
Recipe Input Name is a dropdown menu of the input names you defined in the “Recipe Inputs” step.
Adding a job to a recipe
To add a job to your recipe, select the “Add Job” button on right-side and select your job name and version from the available dialog list that appears. Your job will then appear attached to the “Start” box of the recipe. Select your job box to begin setting the job’s dependencies and inputs. First, select the Add Dependencies button (+) on the right-side to select the box of other jobs that your algorithm is dependent on. You do not need to select the Start box as a dependency. Multiple jobs can be selected as dependencies.
Next, select the connection linking button on the right-side for each of your job’s Inputs on the right-side. These Inputs are the names and media types entered in the input_data of the job JSON. Select the linking button for the respective input and then select the job’s box responsible for creating it. This will display a list of output choices that you can link to your input. The names of inputs/outputs do not need to necessarily match - they are for user convenience in identifying their inputs and outputs. You must, however, match the input and output media types. Repeat the process until all Inputs are connected to their respective files.
At any time during the Recipe creation you want to check the validity of the setup, select the “Validate” box in the upper-right side of the Recipe creation web page. This will provide feedback if your Recipe is missing connections and other issues.
Once the “Validate” button displays a green “Recipe is Valid” message, you can select “Save Recipe” to save your recipe to the database. If a trigger is in place, the recipe will begin processing once its trigger condition is met.